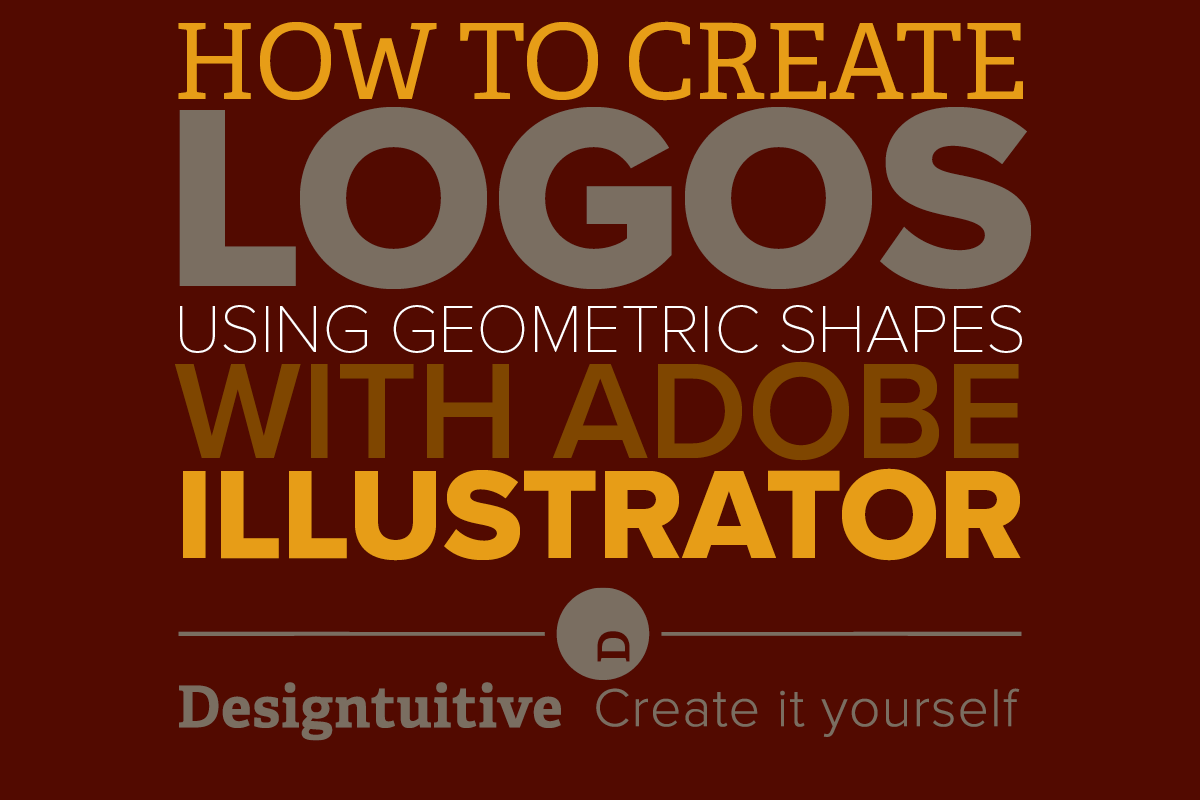
How to create 3 great logos simply with Illustrator (2/3)
Great logos are usually simple. Often simply made from little more than a couple of basic geometric shapes like circles or triangles.
The secret to turning these simple shapes into great logos is often in how those simple shapes are:
- Aligned
- Transformed
- Combined.
In this post we’ll look how to create logos in Illustrator using the first two techniques, aligning and transforming. In next week’s post we’ll look at how to combine transformed elements to create even more options.

As you can no doubt see, the target logo is simply made of three circles, two black and one white. Once you’ve created the first circle, double-click on Illustrator’s Scale Tool to make a smaller copy that’s automatically aligned to the original. Repeat once more and you’ve created the logo. Watch the first video here for full details on how to create this logo in Illustrator.
One of the tricks in learning to create logos is to be able to work out how something potentially complicated might be created using simple geometric shapes. The logo below is such an example. If you can’t yet see what shapes might be used to create it, do yourself a favour and keep looking at it for a while, and see if you can figure it out.

As you might have been able to see, it’s created from a number of triangles. The triangle is created using Illustrator’s Polygon Tool, and the Rotate Tool is used to create a rotated copy. These two shapes are aligned to create one of the diamond shapes. To create the logo, these triangles are duplicated (by holding down the alt key whilst using the Selection Tool) and moved into place, carefully aligning using Illustrator’s Smart Guides. Watch the second video here for full details on how to create this logo in Illustrator.

The previous logo only worked because the shapes were exact triangles, were exactly the same size, and exactly aligned. The final logo will only work if the two white circles are exactly half the size of the black circle. The rectangle will also have to be exactly the same height as the circle. To create the circles an exact size, simply click once with Illustrator's Ellipse Tool and enter the correct dimensions. The rectangle can be created in the same way, and adjusted if need be with Illustrator’s Free Transform Tool. Watch the third video here for full details on how to create this logo in Illustrator.
Whether or not you’re new to Illustrator, to creating logos or using geometric shapes, I hope you’ve found this approach useful. It gives you a solid foundation for creating all manner of great logos, icons, infographics and more. Next week you’ll build on these skills and learn how to use Illustrator to combine shapes in new ways to make the logos you can see below.